
When a converted listing photo is rejected
You have a product photograph that fits an upload limit as a JPG, but its PNG copy is rejected as too large. First read the receiving form: distinguish a required format from a list of accepted formats, and record both its pixel requirements and its byte limit. Changing the extension alone does not satisfy a format check.
For an illustrative limit of 300 KiB, the maximum is 307,200 bytes. That is an example requirement, not a claim about any marketplace. Our public source below fits that example limit; its PNG export does not, despite keeping the same width and height.
The same pixels can take very different amounts of space
JPEG uses lossy compression, while PNG uses lossless compression. A detailed photographic image can therefore take more space in PNG than in JPEG. A larger PNG is not evidence that the converter restored detail that was discarded when the JPG was created.
The comparison below uses the site's public parrot example. The JPG is 78,667 bytes and the PNG is 665,592 bytes, about 8.5 times as large. Both are 560 × 765 pixels. In our browser check, decoding the two files produces identical canvas pixels: this conversion preserves the decoded image rather than creating a higher-quality original.
| File | Bytes | Pixels |
|---|---|---|
| Original JPG | 78,667 | 560 × 765 |
| PNG export | 665,592 | 560 × 765 |
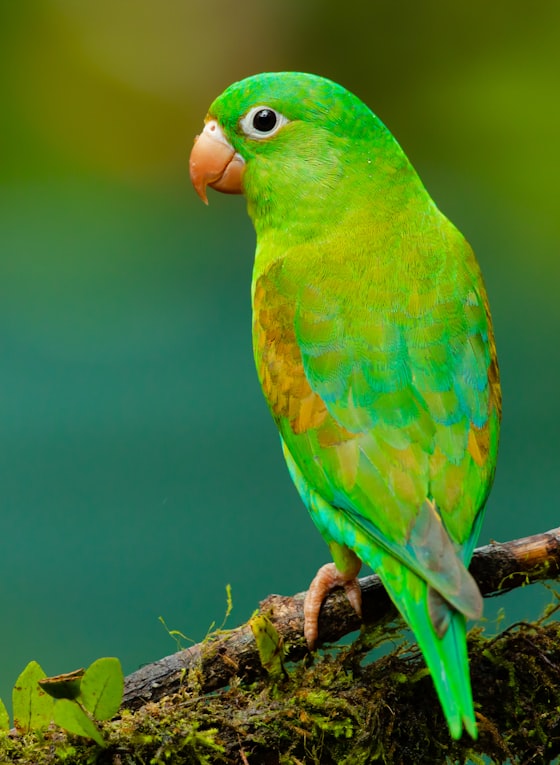
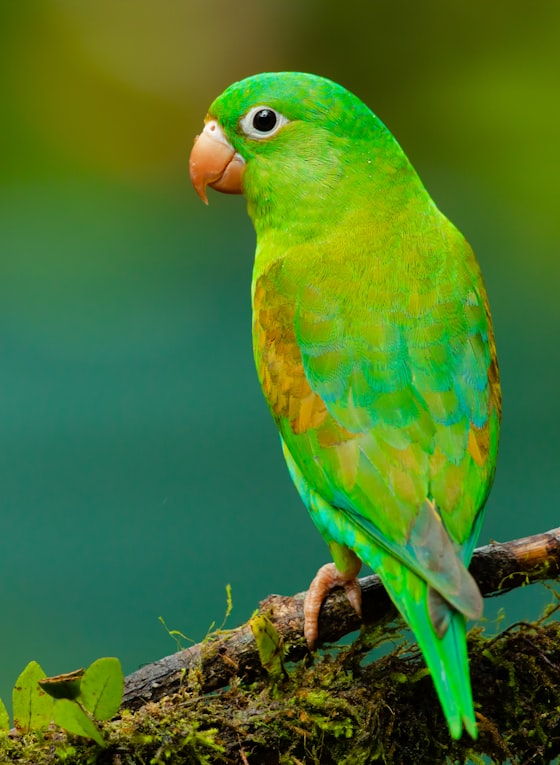
Choose an accepted output before trying to shrink it
The PNG path in these converters has no JPEG-style quality slider. Repeatedly saving the same pixels as PNG is not a reliable way to reach a smaller target. A tool meeting the byte limit by changing the format or reducing dimensions still needs to satisfy the other requirements.
- Keep the original JPG and note the receiving form's required formats, minimum dimensions and maximum file size.
- If JPG is accepted and the source already meets those requirements, use the source instead of converting it just to get a PNG extension.
- If PNG is required, open JPG to PNG, choose the original and download the result. Check the real file size and dimensions.
- If that PNG is too large, use Resize Image to prepare a smaller copy within the form's dimension requirements, then export PNG again. Inspect labels and fine product detail.
- If the form permits JPG or WebP, compare an export in one of those accepted formats. Compress to Size can help with a byte target, but check which output format and resizing options you selected before downloading.
Check the downloaded attachment, not the preview
Look at the downloaded file's type, bytes and pixel dimensions, then open it at the size a buyer will see. Confirm that condition details, small writing and edges remain readable. A thumbnail can look acceptable while hiding damage caused by aggressive resizing.
If the receiving form still rejects a file that appears to fit, check its precise unit, allowed dimensions and actual file format. A .png filename does not establish that the bytes are PNG, and a stated KB limit may use a different byte convention from your file manager.
Return to the original when conversion solves the wrong problem
JPG to PNG does not remove a photographed background, recover transparency or repair JPEG artefacts. If a shop asks for a transparent product cutout, a format conversion alone is insufficient. Start from a genuinely transparent source or a separate editing workflow.
Keep the original and the accepted final attachment. Avoid a chain of repeated lossy conversions while experimenting. A smaller accepted file with readable product detail is the goal; a particular extension is useful only when the destination requires it.