
Mark the edges that define the drawing
A designer hands off a badge to an editor that accepts filled outlines. In the original, moving a centreline or changing stroke width changes both edges at once. The recipient needs to edit the boundary itself. Save the original, then mark a round line end, a dashed arc and a sharp corner to compare after conversion.
Export the vector outline
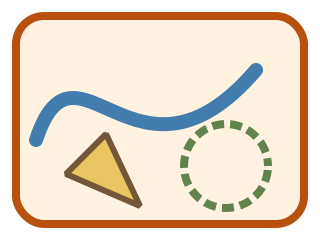
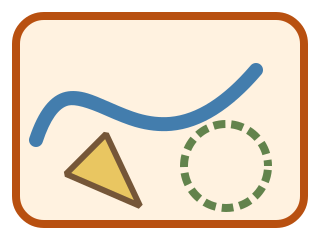
- Open SVG stroke to fill and choose the source SVG. Inspect the curved blue stroke, the green dashed circle and the corner of the yellow polygon.
- Choose Expand strokes. Zoom in on the blue ends and green gaps. Also inspect the coloured interior of the polygon and its bevelled outer corner.
- Download the SVG and reopen it in the receiving editor. Select an expanded shape and inspect its fill and boundary. Use the PNG preview only to compare appearance.
Count the outlines and the original fills
The source has four stroked objects. Two also have a solid interior. The exported SVG therefore has six filled path elements, including both original interiors, and zero stroke attributes. Its viewBox is still 0 0 160 120 and its declared size is 320 × 240. The file grows from 582 to 9,358 bytes as the boundaries and dashes become explicit geometry.
Check what the next editor actually receives
A filled outline has an inside and an outside edge. If the next workflow requires a single centreline, send the original stroke drawing. If it requires one united silhouette, inspect the separate filled paths before handoff. This tool rejects drawings with text, filters, clipping or non-scaling strokes. Prepare a supported geometric copy in the authoring editor and check its appearance again before expansion.