
Check what the upload form requires
An upload form can restrict the file format, byte count and pixel dimensions at the same time. Write down all three before changing the image. A JPG below the size limit can still be rejected if the form expects PNG or a particular width and height.
Keep the original and work on a copy. For screenshots, inspect small letters and thin lines; for photographs, inspect faces, hair and edges. Compare at the size the receiving service will display or print. A file can look sharp as a small thumbnail and become unreadable when opened.
| Requirement | What to check |
|---|---|
| File type | The actual downloaded format, not just the filename extension |
| Pixel dimensions | Required width, height and aspect ratio |
| File size | The receiving site's byte limit and whether it means decimal KB |
| Content | Readable text, complete crop and any required transparency |
Use Compress to Size
The tool searches the browser's JPG or WebP quality settings first. PNG has no equivalent quality slider in this canvas export path, so a difficult PNG target may require reducing dimensions or selecting a different accepted format. Changing a filename from .png to .jpg does not perform that conversion.
- Open Compress to Size and choose the image. Select an output format accepted by the receiving service.
- Enter 200 and select KB. On this tool, that setting means 204,800 bytes. If the receiving service specifies a strict 200,000-byte limit, enter 195 KB for a target of 199,680 bytes.
- Leave resizing off when exact pixel dimensions must stay unchanged. If the tool reports that the target cannot be met, decide whether the receiving service permits fewer pixels before enabling resizing.
- Run the compression and inspect the actual before-and-after result. Download the file, check its dimensions and byte count, and try that copy in the upload form.
A public example with the pixels kept intact
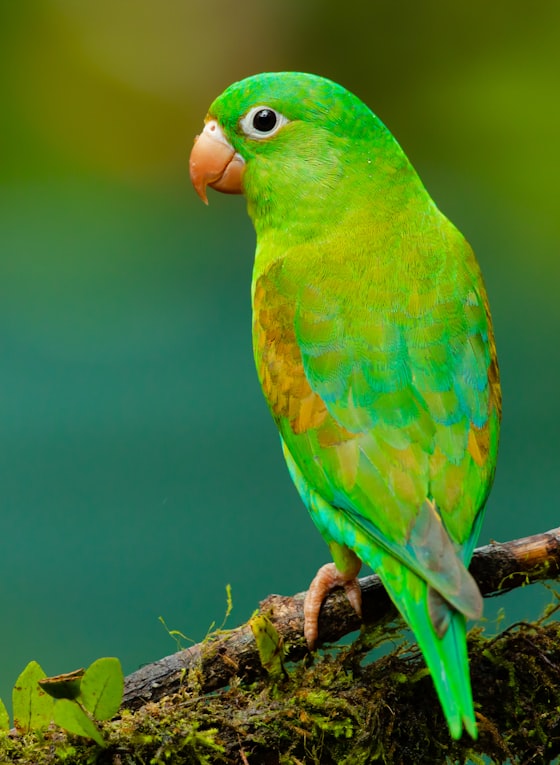
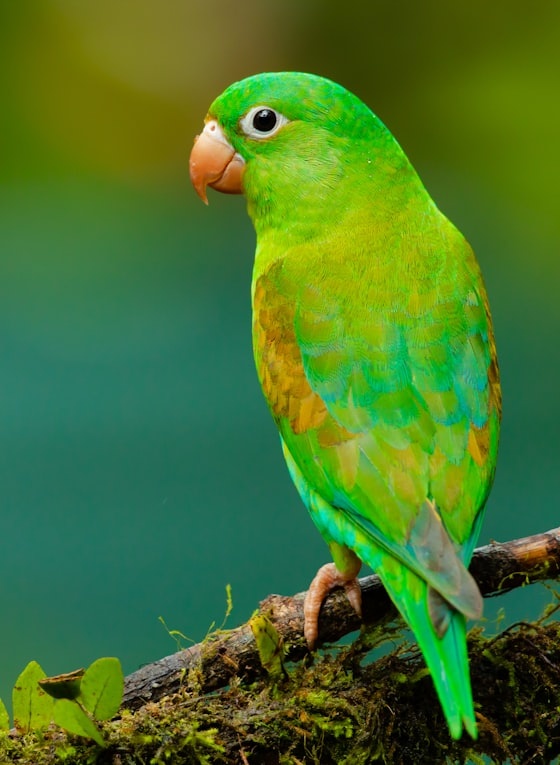
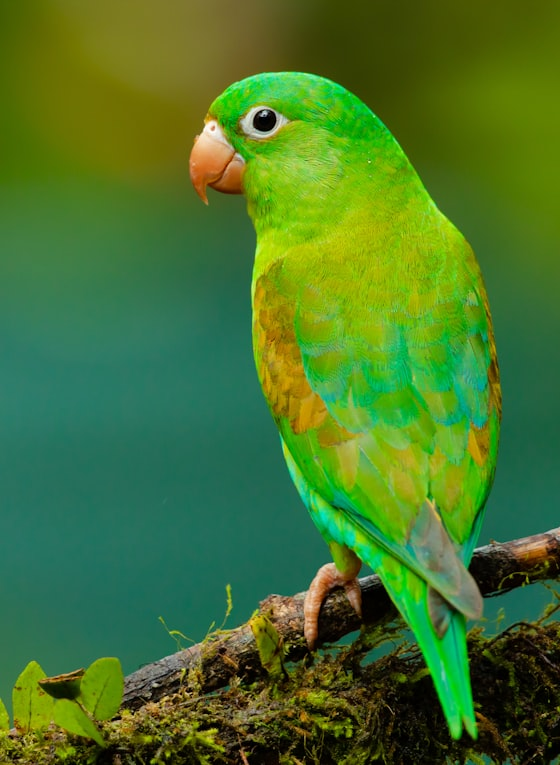
This example uses the site's public 560 × 765 parrot image, not a customer upload. The source is a PNG. We ran the actual target-size encoder with JPG output, a 204,800-byte target and resizing disabled. The result met the target at the original pixel dimensions.
The result reflects this image and the recorded browser encoder. It is not a promise that every image will fit at the same quality. Browser encoders and the complexity of the picture can produce different sizes. Download both files if you want to inspect the trade-off yourself.
| File | Bytes | Pixels |
|---|---|---|
| Source PNG | 665,592 | 560 × 765 |
| Target-size JPG | 99,219 | 560 × 765 |
| Target | 204,800 | Resizing disabled |
When a 200 KB result is not practical
If a form requires both a very large image and a very small file, its constraints may leave little room for a readable result. Crop unused borders when allowed, then resize to the actual required dimensions. Repeatedly saving a damaged JPG cannot restore detail; return to the original for each attempt.
Do not make a transparent logo into JPG unless a solid background is acceptable. Do not resize a screenshot until its small text becomes illegible just to make the counter turn green. When the tool reports that it cannot meet a target, keep the original and review the requirements rather than treating its smallest attempt as a successful upload.