
Compare the files that will actually be approved
You receive a revised product photo or screenshot and want to check that the change is confined to the intended area. Use the original and the actual edited download. A screenshot of a preview can introduce scaling or display changes that were not part of the edit.
Check the two pixel dimensions first. For a local edit, matching dimensions and framing make the comparison easier to interpret. This tool does not automatically register, rotate or rescale the pictures to align their subjects.
Start with zero tolerance and inspect the region
If the dimensions differ, the tool aligns the images at the top-left and compares across their combined width and height. A region covered by only one image counts as different. Resolve an unexpected crop or resize before treating the count as a measure of the intended local edit.
- Open Image Diff and choose the original and revised files together, or add the second image after the first.
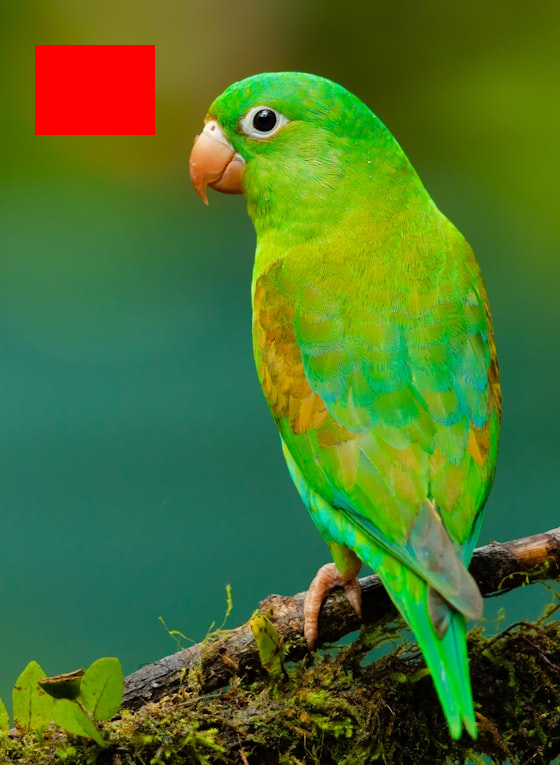
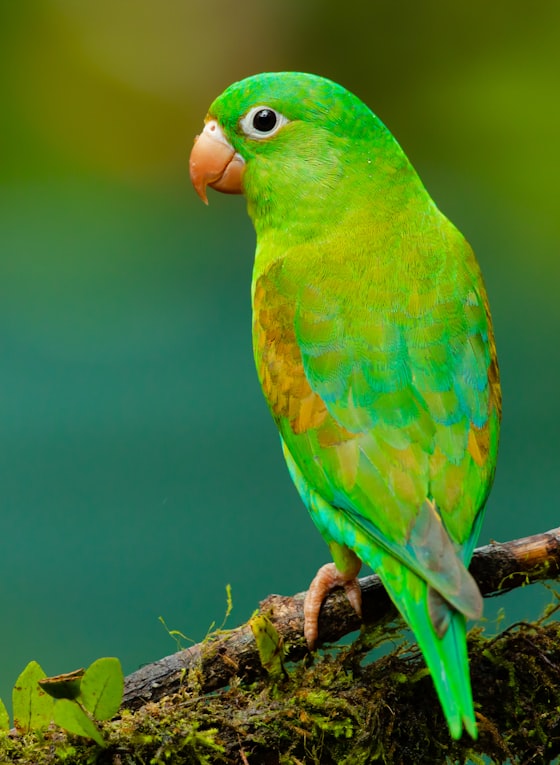
- Confirm the A and B filenames and dimensions. Use the public source and revised PNG below for the recorded example.
- Leave tolerance at 0 and use the Highlight view. Read the changed-pixel count and the changed-area coordinates.
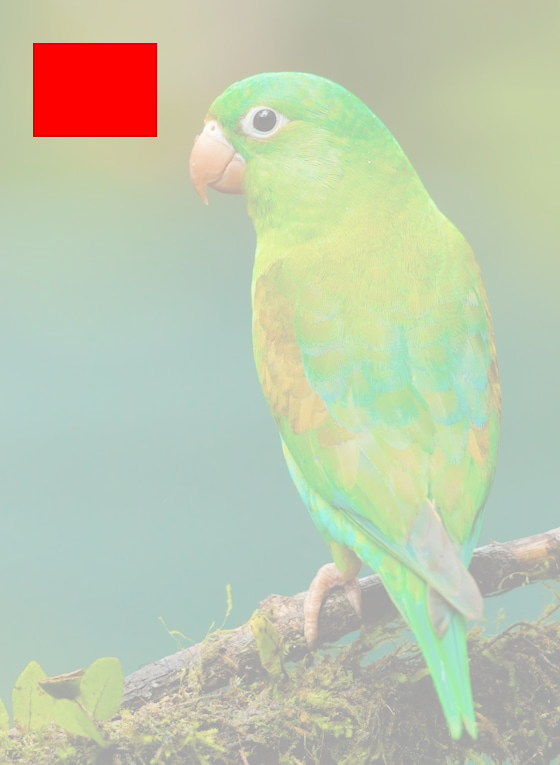
- Inspect the highlighted area against both inputs. Check whether the region matches the change you intended to approve, including its edges.
- Download the difference PNG if you need a visual review aid. Keep both original inputs as well: the diagnostic image is not an editable replacement for either file.
Verify the public edited rectangle
Both public inputs are 560 × 765 pixels. The second is an authored test edit of the site's public photo, with a changed rectangle beginning at x=35, y=45. At tolerance 0, the comparison reports 10,800 differing pixels inside a 120 × 90 pixel box. Coordinates start at the top-left using zero-based pixels.
At tolerance 16, this sample still reports the same box and count. Comparing the original with itself reports zero differing pixels. These checks establish the expected local edit and an unchanged baseline; they do not define an acceptable difference threshold for every image.
| Comparison | Differing pixels | Changed box, zero-based pixels |
|---|---|---|
| Original against itself, tolerance 0 | 0 | None |
| Edited pair, tolerance 0 | 10,800 | 120 × 90 at 35,45 |
| Edited pair, tolerance 16 | 10,800 | 120 × 90 at 35,45 |
Use tolerance to investigate small channel differences
For each compared pixel, the tool takes the largest absolute difference across its red, green, blue and alpha channels. A pixel is counted when that value is greater than the selected tolerance. At tolerance 16, a maximum channel difference of 16 is ignored, while 17 is counted.
Increasing tolerance can hide slight re-encoding noise, but can also hide a subtle edit you needed to inspect. Return to tolerance 0 when checking a fine line or a small colour change. Two fully transparent pixels are treated as visually matching even if their hidden RGB values differ.
Interpret the pixels alongside the intended edit
A global resize, a one-pixel shift or a different lossy encoding can produce a large difference map without a large change in the depicted subject. Conversely, a very small changed area can contain an important digit or label. Read the affected content rather than approving an edit from the percentage alone.
Zero reported differences means the compared decoded pixels match under the current tolerance and transparent-pixel rules. It does not compare file bytes or metadata. Keep the original, the approved revised export and any review notes needed to explain the decision.