
Write down the files the recipient expects
You are preparing a set of product images or document illustrations and want one archive of compressed copies. Record the required file count, accepted format and any per-image byte or pixel limit. Keep the originals separately so a later quality change can start from the source.
Different pictures can need different amounts of data at the same quality. A useful total reduction can hide one file that remains too large, or another whose small text has become hard to read. The batch summary is a progress and size aid, not proof that every receiving requirement is met.
Choose settings and wait for the required rows
The archive includes available completed results. Its download button becoming usable does not by itself establish that every selected file succeeded. Check the completed count and the archive contents before sending it.
- Open Batch Compress and choose the input images. Check the file count and any current batch-limit notice; make sure all required inputs were accepted.
- Choose the required output format and a starting quality. The public example uses JPG at quality 82.
- Wait for the required rows to finish and check each row's reported format, dimensions and bytes. Review errors instead of treating a partially completed list as a complete job.
- Inspect representative full-size results, especially detailed photos and images containing small writing. Download an individual file when it needs closer review.
- Download the ZIP, open it and compare its entry count and names with the intended delivery list. Open the required images from that archive and recheck their actual dimensions and readability.
Compare a two-file public batch
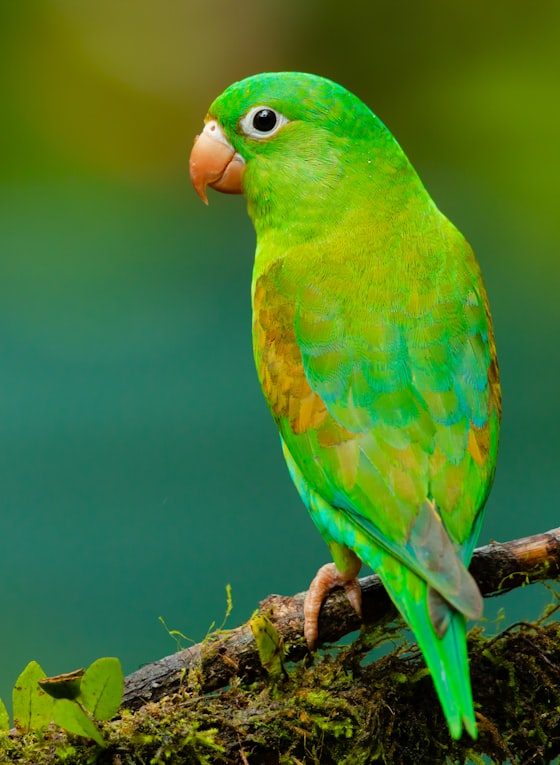
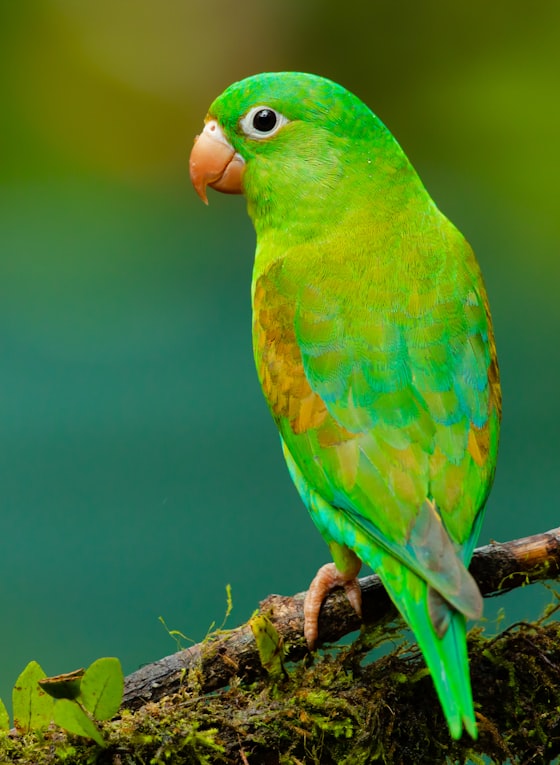
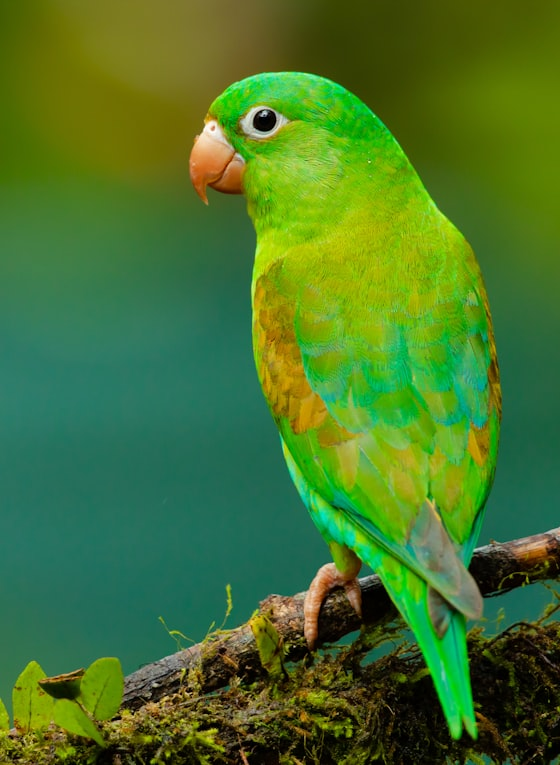
The controlled batch uses two encodings of the same public photo, rather than two different customer images. Both are 560 × 765 pixels: the JPG is 78,667 bytes and the PNG is 665,592 bytes. Their decoded pixels match, letting us check the common batch settings without changing the depicted subject.
At JPG quality 82, each recorded output is 62,123 bytes at 560 × 765 pixels. Our tool check downloads a ZIP containing the two results and verifies the unpacked images. The public compressed JPG below lets you inspect the saved image; the two original inputs let you reproduce the batch yourself.
| Input encoding | Input bytes | JPEG quality 82 bytes | Output pixels |
|---|---|---|---|
| JPG | 78,667 | 62,123 | 560 × 765 |
| PNG | 665,592 | 62,123 | 560 × 765 |
Check individual limits and output names
Quality 82 is an encoder setting, not a target of 82 KB or a promise of a fixed reduction. If one output must meet a strict byte ceiling, inspect that file separately and use Compress to Size when suitable. Return to the original rather than repeatedly recompressing a damaged result.
The tool normalises output names and disambiguates repeated names inside an archive. Match the actual names to the receiving system's required labels before uploading. Do not assume that a renamed output still has the same filename spelling or directory structure as the source collection.
Handle transparency and partial batches deliberately
JPG is appropriate only when a solid background is acceptable. A batch containing transparent logos may need a different accepted output format, separate from ordinary photos. Check a representative transparent source after export instead of judging it only from the compressed-byte counter.
Many large decoded images can use substantial browser memory. Work in smaller groups if necessary, record which group is complete and inspect every archive. Retain the originals and verified outputs until the delivery is accepted; this public example demonstrates a two-file workflow, not a universal compression ratio or maximum practical batch size.