
Add a frame while retaining the complete picture
You want a visible frame around a photo for a document or listing, while keeping the image's edges intact. This is different from cropping an existing photo to a smaller rectangle. Start from the original and leave corner rounding off when no part of its rectangular picture should be clipped.
Read the destination's width, height and aspect-ratio rules first. Adding the same border on every side changes both dimensions and usually changes the aspect ratio slightly. It does not automatically create a square image or meet an exact-size upload form.
Set the border using the actual percentage control
A transparent-background option does not make a painted border transparent. In this example the white frame is deliberately opaque. Rounded corners are a separate choice and can clip the visible image near a corner.
- Open Image Border and choose the source image. Read its pixel dimensions.
- Set border width to 4 for the public example. This means 4% of the shorter source side, not four pixels.
- Choose a white border, leave corner radius at 0 and select PNG output. Review the output-size and border-pixel readout.
- Download the framed copy. Open it and check the complete original picture inside the frame, including all four corners.
- Compare the final dimensions and bytes with the destination's requirements. If a later resize is needed, inspect that later export again because it changes the pixel grid.
Measure the 22-pixel frame around the public photo
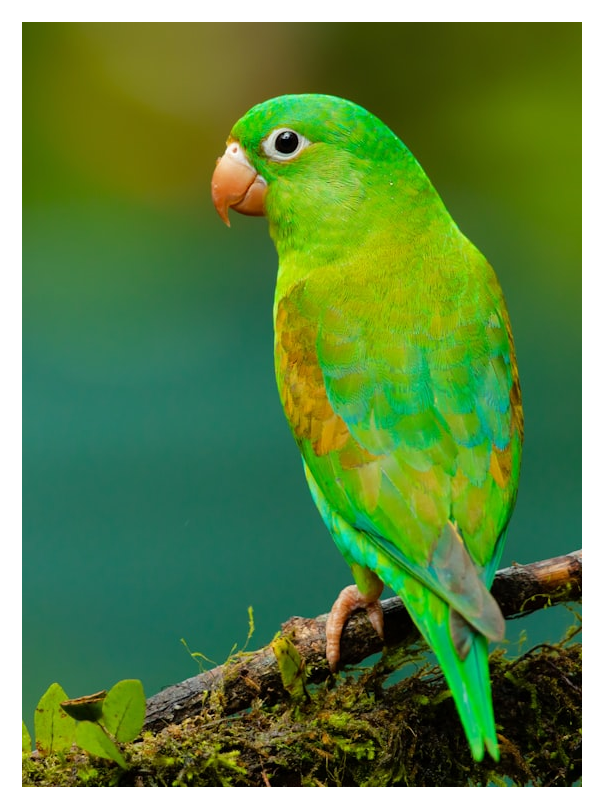
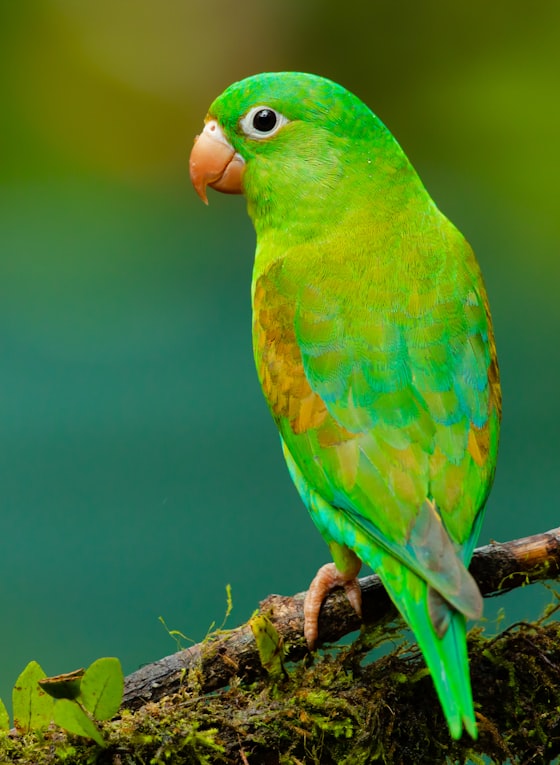
The source photo is 560 × 765 pixels. Four percent of the 560-pixel short side is 22.4, rounded to 22 pixels per edge by this tool. The downloaded canvas is therefore 604 × 809 pixels: 560 + 44 by 765 + 44.
Our decoded-pixel check compares the complete 560 × 765 central region, starting at offset 22,22, with the decoded original. Every channel matches in the saved sample. The outer corner is opaque white. The PNG is 673,709 bytes, compared with the 78,667-byte source JPG; preserving the picture's pixel values does not preserve its encoded file size.
| Image | Pixels | Bytes | Frame |
|---|---|---|---|
| Source JPG | 560 × 765 | 78,667 | None |
| Framed PNG | 604 × 809 | 673,709 | 22 px each side; no rounding |
Separate a frame from cropping, resizing and rounding
Use Crop when you intend to remove edges, and Resize when you intend to change the picture's pixel dimensions. The border workflow described here adds a canvas around the image. It cannot turn a small or blurred source into a sharper photograph.
For rounded corners, inspect the subject near every corner and choose an output format that supports the background you need. JPG requires a solid background rather than transparent corners. Check the exported file on the actual destination background, not just the editor preview.
Check large exports and any later processing
Very large images with wide borders can exceed the browser's canvas limits. The tool can scale such an export down and reports that limit; the unchanged-central-pixel result above applies to this modest sample, not every possible input size.
Keep the unframed original. If a receiving service resizes or recompresses the attachment, inspect the displayed and downloadable versions for clipped edges and border visibility. A frame that looks balanced in a large preview can be too wide or too thin in the final placement.